

Who loves Italian food? I do, I do! It is, by far, my favorite cuisine. I could eat it everyday. From pasta, basil, Parmigiano-Reggiano to tomatoes, salami and pizza, I love most ingredients associated with Italian cooking. Any kind of pasta dish is comfort food to me. Of course, you must eat pasta in moderation! You don't want all those carbohydrates to cause a sleep coma, much less add a little more fluff to your midsection! This was the first time I've made any kind of stuffed manicotti and will not be the last. It is very filling and something the whole family will enjoy. This recipe is a keeper! Try it soon!
Spinach & Cheese Stuffed Manicotti
Prep Time: 45 mins Cook Time: 60 mins
- 1 (10oz) pkg frozen spinach, thawed & squeezed dry
- 15 oz ricotta cheese
- 8 oz mozzarella cheese, shredded
- 4 oz cream cheese
- 1/2 cup shredded Romano/Parmesan cheese
- 2 large eggs
- 1/2 teaspoon salt
- 1/2 teaspoon black pepper
- 1 box of manicotti shells (12-14 shells)
- 3-4 cups of marinara sauce
- 1/2 cup shredded Romano/Parmesan cheese, for topping

Preheat oven to 350 degrees.
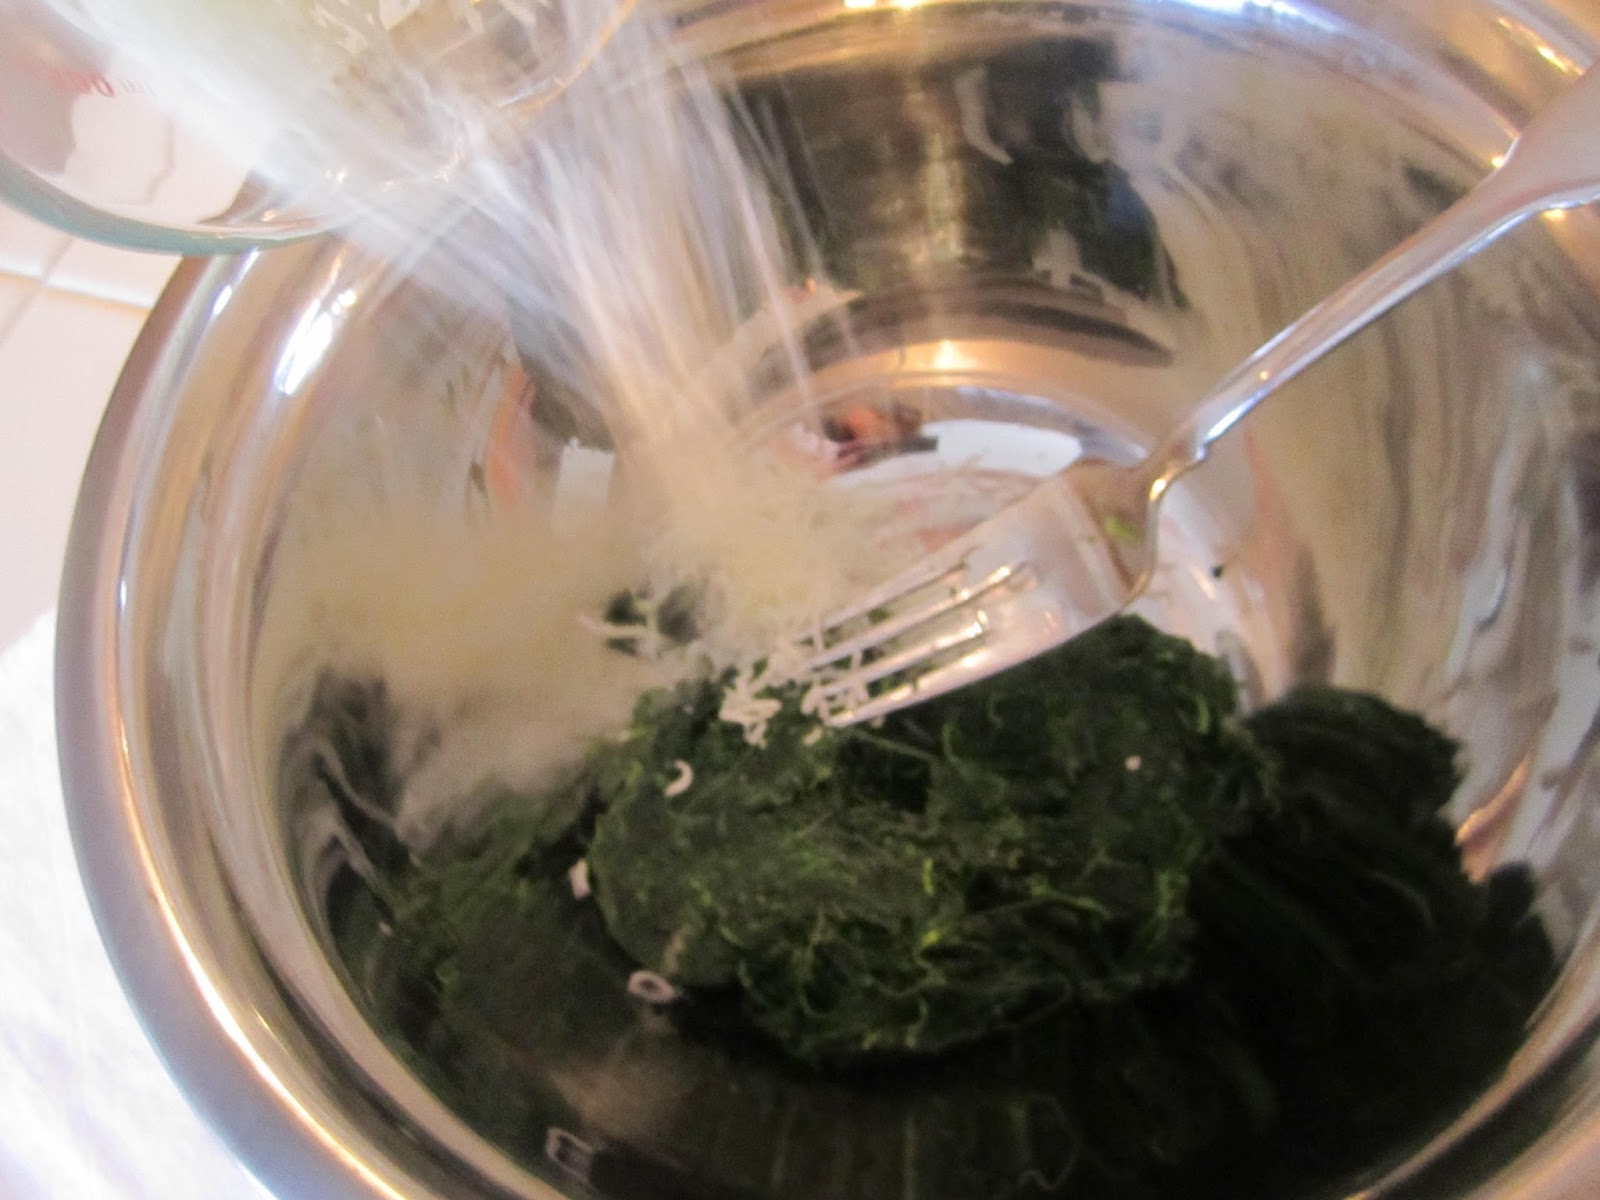
Now, it's time to thaw your spinach and completely squeeze all the liquid out. First, put box of spinach on a microwave safe plate and defrost completely. Halfway thru the defrosting process, I used a fork to help separate the spinach.


Your spinach should look like the picture below. I then allowed it to cool for about 5 minutes.

Here comes the messy part! You'll notice the spinach holds a lot of water and we must get rid of it. Every bit of it! We want dry spinach...as dry as cracker juice! This is the easiest way I've found to squeeze dry spinach and it works! You'll need a devoted, clean kitchen towel, one that you'll reserve only for this task...later known as the "spinach rag." Lay all the spinach in the center of towel and, over a small bowl, begin to squeeze out all the water.


You will be surprised how much water the spinach holds. Squeeze until completely dry.


We are now ready to make the stuffing mixture. Put the spinach into a mixing bowl. To this, add the cheeses, eggs, salt and pepper.


It doesn't get any easier than that. Stir all together until well blended.

Next, you will cook your manicotti pasta. I think manicotti is so pretty. But, I think most pastas and noodles are pretty. Manicottis are long, tubular pasta that are usually ridged and intended to be stuffed with a mixture. We're going to do just that!


Cook manicotti as instructed on package. Then, place back into the plastic container they came in to allow to cool.


Next, spread about 1 & 1/2 cups of marinara sauce on the bottom of a 9 x 13 dish.


Place the spinach and cheese mixture into a gallon size Ziploc bag. I have found the easiest way is to use a large cup so your hands are free to scrap mixture into bag. A homemade pastry bag is what we are aiming for. This method will help easily put spinach mixture into the manicotti shells.


Now, we are ready to assemble the pasta!

You can either lay the shell down or hold in one hand as you fill the shell with the mixture. Don't be skimpy with the filling. I would rather them be overfilled than under filled. Plus, more filling means more yumminess!

Repeat process until all manicotti is filled. Fill the dish with all the stuffed manicotti.


Next, cover the pasta with marinara sauce, about 2 & 1/2 cups. Try to get the sauce on all parts of manicotti. If any pasta is left uncovered, it will become hard and chewy.


Then, sprinkle 1/2 cup of Romano/Parmesan cheese on top or as much or little as you desire. Now, it's time to get to cooking....it's about time because I'm getting hungry!

Cover with aluminum foil and bake for 50 minutes.

Remove foil and bake for an additional 10 minutes.
 |
| #inovenshot #yum #homemadeisthebestmade |
There you have it! Homemade stuffed manicotti. It's good. It's filling. Let's have a seat and dive right in!


Bon appetit...let's eat!,
