Saturday, August 30, 2014

Feta Cheese & Avocado Hummus


Hummus...this is definitely a new food adventure for me! Maybe I'm late jumping on the hummus bandwagon, but I'm glad I finally did. If you are a dip & chip loving person, try broadening your horizon with this alternative! 

What is hummus? It is a mixture of garbanzo beans (chickpeas), tahini, lemon juice, salt and garlic.  Hummus is Arabic for "chickpeas."  It can be scooped with flatbread, such as pita or served with tortilla chips or crackers. There are many variations of hummus, such as this recipe! Think of it as "guacamole meets hummus!"...........

Feta Cheese & Avocado Hummus
Prep Time: 10 minutes
Serves: 4-6

Ingredients:
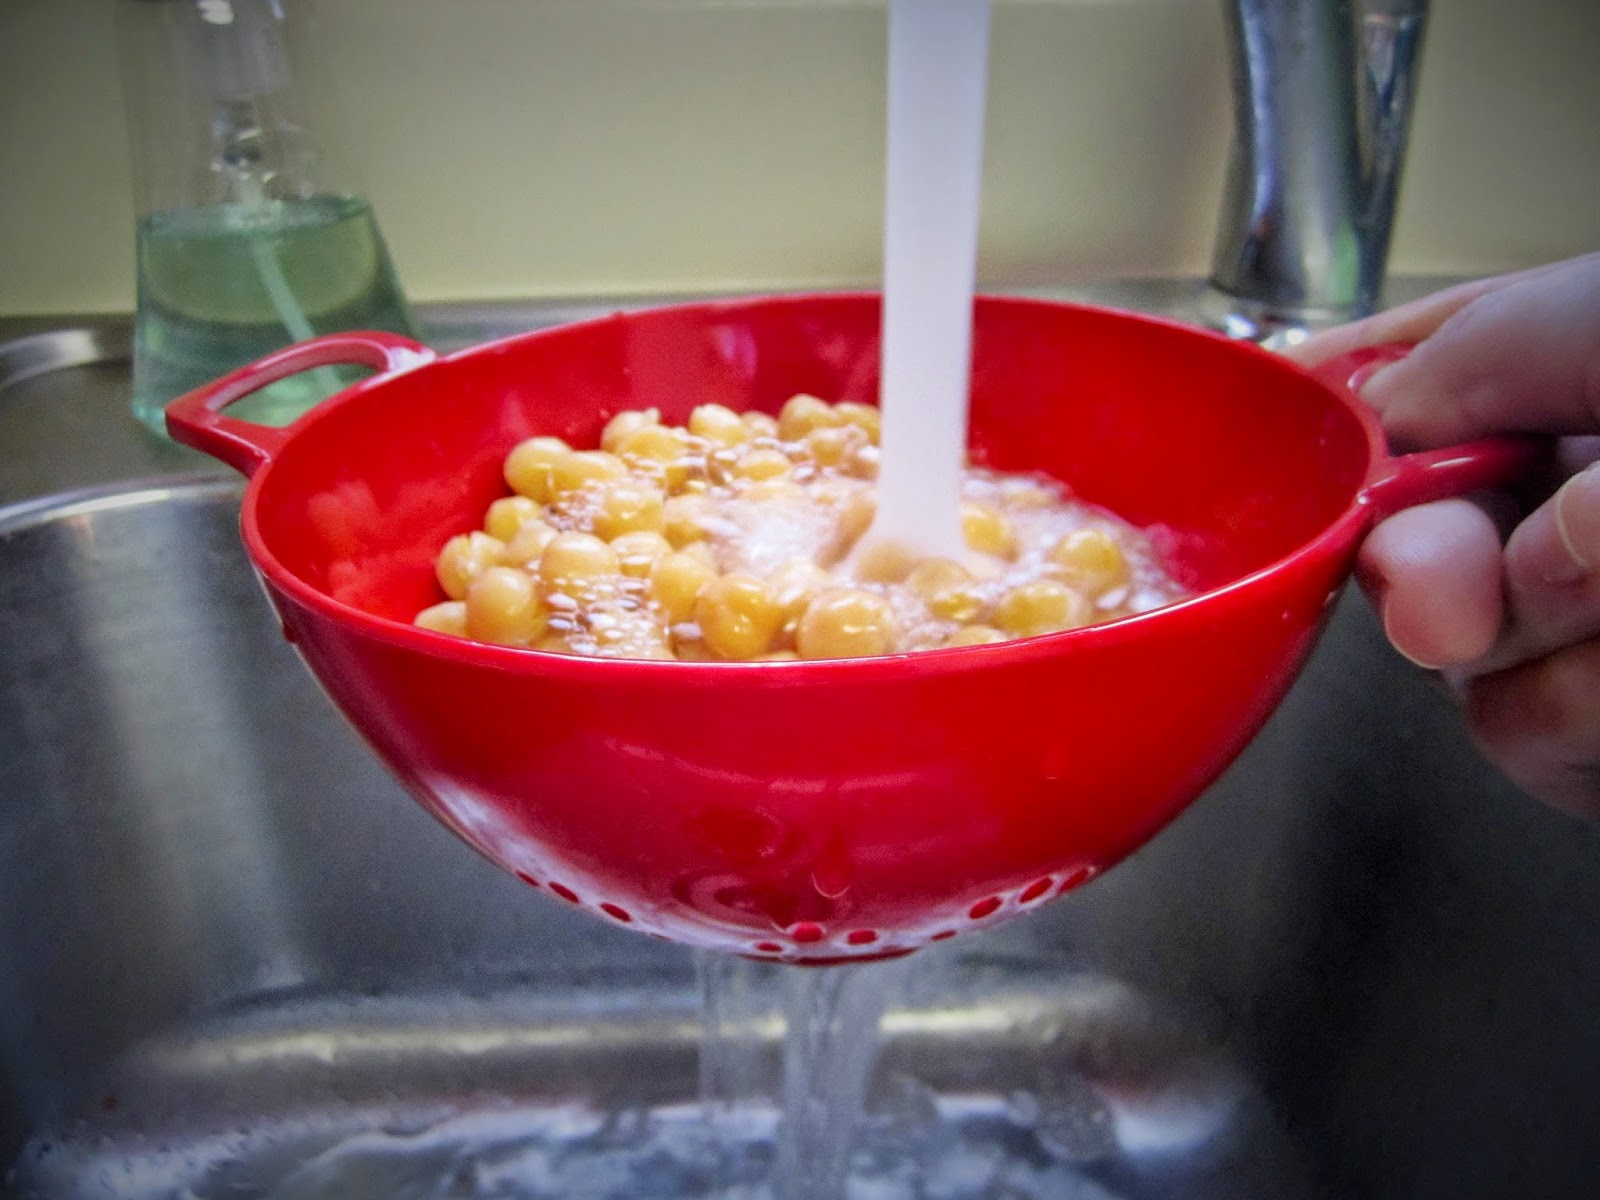
        1 can (15oz) garbanzo beans (chickpeas), rinsed & drained
        2 avocados, pitted & scooped in chunks
        1 cup crumbled feta cheese
        1/2 cup olive oil
        3 limes, juiced
        1 tbsp. tahini paste
        salt & ground pepper, to taste


This recipe is really so simple.  It does not need much explanation but because I love capturing the steps, allow me to show you that you could really do this in your sleep.

Rinse and drain the garbanzo beans.  Add them to a mixing bowl.


Slice and pit the avocados. Then, scoop the meat of the avocado into the bowl.


Add the cup of crumbled feta cheese.

Next, pour in 1/2 cup of olive oil.  I used extra virgin olive oil.


Then, slice and juice 3 limes.  To get the most juice out of your lime, apply pressure and roll your lime on a hard surface.  You can really taste the limes in this hummus so if you are not crazy about their taste, only use 2 limes. 


Add 1 tablespoon of tahini paste.  What in the world is tahini paste?  Tahini is toasted sesame seeds and oil.  It is most commonly used in Middle Eastern and Mediterranean cooking.  It can be eaten alone but is primarily used in hummus.  (Make sure to stir the tahini before using since the oil will separate.) 

 
Salt and pepper to taste.  Next, add all ingredients to a food processor or use an immersion blender, as I have done.  Mix, mix away!  You want it to be a creamy texture.  


You should now have a "guacamole style" mixture.  Transfer to serving bowl.  Serve with tortilla chips, pita chips, flatbread, sliced red/green/orange/yellow peppers.  The possibilities are endless!  Enjoy!


Bon appetit...let's eat!,
Amy


Recipe source: Diethood


Monday, August 25, 2014

Cinnamon Roll Bites


There is nothing more comforting than the smell of cinnamon lingering in the house...especially when you know you get to eat it!  Who doesn't love cinnamon rolls?  The smell of them instantly makes me feel like I'm at home.  They are a classic and always a hit!  This is my take on them but in bite size pieces.  Don't let the size fool you....they still pack a big punch! :)

Cinnamon Roll Bites
Prep Time: 10 minutes
Baking Time: 25 minutes
Serves: 4-6

Ingredients:
       For biscuits:
              1-16.3oz Pillsbury Grands biscuits
              1 tsp. ground cinnamon
              1/4 cup brown sugar
              3 tbsp. butter, melted
       For glaze:
              1 cup powdered sugar
              2 tbsp. butter, melted & cooled
              1 tbsp. vanilla extract
              1 tbsp. milk
 
Directions:
Preheat oven to 350 degrees.  Spray an 8x8 inch baking dish.
 
Cut each biscuit into 4 pieces. Set aside.
 
 
In a mixing bowl, mix brown sugar & cinnamon together.  I used a fork to help break up the packed brown sugar.  Your kitchen should start smelling heavenly right about now....


Add biscuit pieces to the brown sugar & cinnamon mixture.  Toss the pieces to coat evenly.  Get your hands in there.  You want every inch of the biscuit coated!
 
 
Next, lay the biscuit pieces into your prepared dish.  Do not layer them.  Just lay them beside one another, allowing them to touch.
 
 
Pour the melted butter evenly over the biscuit pieces. 


Bake for 20-25 minutes or until baked through and golden brown.  (Depending on oven, you may need to allow to cook for 25 minutes.)

And now you must be patient.  If you are like me, you might turn the oven light on to catch a peek.  Or just go all out, open the oven door, while inhaling the yummy goodness and snap a pic....
 
 
After the biscuit pieces are cooked through, allow them to cool slightly.  Mix all glaze ingredients together until smooth.  Drizzle glaze over the cooled biscuit pieces.


 Now your hard work has paid off! :)  Get a cup of coffee or a tall glass of milk and enjoy!
 
 
Bon appetit...let's eat!,
Amy


Thursday, August 7, 2014

Welcome!

Welcome to my blog, Ready-Set-Eat.  There is nothing I love more than watching a recipe, step-by-step, come to life.  Whether it is on a cooking show or in a cookbook, it's exciting to me!  My favorite cookbooks are those with pictures. (C'mon, admit it.  You like those too!)  The ones that capture each step and show the reader exactly what the food is supposed to look like.  As a beginner cook, it is good to know what "softened butter" should look like.  It is not to look as if it has been microwaved for two minutes and is ready to pour over popcorn!  Rather, it should still resemble a block of butter, but "squishier."  A more "seasoned" cook (pun intended!), has probably mastered the art of butterflying a piece of meat.  It is difficult to describe without visual effects and a photo of this may be worth a thousand words...otherwise, there "ain't no telling" what your meat would look like.  These are reasons why I love a step-by-step process with pictures.  If you do too, then you've come to the right place! I am not a professional chef, a food stylist, experienced photographer or veteran blogger.  I only hope to share easy, familiar recipes with you and, hopefully, capture the experience thru photos for you to share with your friends and family!

Bon appetit...let's eat!,
Amy